
Understanding Ductless Mini-Split Installation
What is Ductless Mini-Split Installation?
Ductless mini-split installation involves setting up an efficient heating and cooling system that operates without the need for ductwork. This system consists of an outdoor unit and one or more indoor units that allow for personalized climate control in different areas of a home or office. With the growing preference for energy efficiency, many homeowners are opting for this flexible alternative to traditional central HVAC systems. By taking advantage of ductless mini-split installation, you can enjoy improved air quality and reduced energy costs.
Benefits of Ductless Mini-Split Systems
Ductless mini-split systems offer numerous advantages that make them a popular choice for modern heating and cooling needs. Here are some notable benefits:
- Energy Efficiency: Ductless systems typically use less energy than conventional systems, reducing your utility bills.
- Flexibility: These systems allow users to control the temperature in individual rooms, ensuring personalized comfort.
- Easy Installation: The installation process is less invasive as it requires only a small opening for the refrigerant line, rather than extensive ductwork.
- Improved Indoor Air Quality: Ductless mini-split systems reduce the likelihood of dust and allergens circulating in your home.
- Quiet Operation: Many models operate quietly, making them ideal for bedrooms and other quiet spaces.
Essential Components of the System
Understanding the components of a ductless mini-split system can help you appreciate its functionality better. Key components include:
- Outdoor Unit: This unit houses the compressor and condenser. It is responsible for absorbing heat from the outdoor air and transferring it indoors.
- Indoor Unit: Usually mounted on a wall or ceiling, the indoor unit distributes conditioned air into your living space.
- Refrigerant Lines: These lines connect the indoor and outdoor units and circulate refrigerant between them.
- Remote Control: Most systems come equipped with remote controls or smart technology to easily adjust settings from anywhere.
Preparation for Installation
Assessing Your Space for Ductless Installation
Before proceeding with ductless mini-split installation, it’s vital to assess your space. Consider the following factors:
- Room Size: The capacity of the mini-split system should match the size of the room it’s intended to heat or cool. A professional load calculation can help determine this.
- Insulation: Check how well your space is insulated. Proper insulation will enhance system efficiency.
- Location: Ideal outdoor unit placement should be away from obstructions that could affect airflow and on a stable, level surface.
Tools and Materials Needed
Gathering the right tools and materials before starting the installation can streamline the process. Key tools include:
- Drill and drill bits
- Stud finder
- Level
- Wrenches
- Screwdrivers
- Piping and insulation materials
- Electrical wiring and connections
Understanding Local Regulations
Each jurisdiction has specific regulations regarding HVAC installations. It’s essential to check local codes to ensure compliance. This may include obtaining permits and adhering to safety standards. Hiring a licensed contractor can help navigate these regulations effectively.
The Installation Process Explained
Step-by-Step Ductless Mini-Split Installation
Installing a ductless mini-split system involves a meticulous step-by-step approach:
- Select the Location: Choose appropriate locations for both the indoor and outdoor units while considering aesthetics and efficiency.
- Install the Outdoor Unit: Secure the outdoor unit on a level platform, ensuring clear airflow and easy access for maintenance.
- Connect Refrigerant Lines: Carefully run the refrigerant lines from the indoor unit to the outdoor unit, ensuring proper insulation.
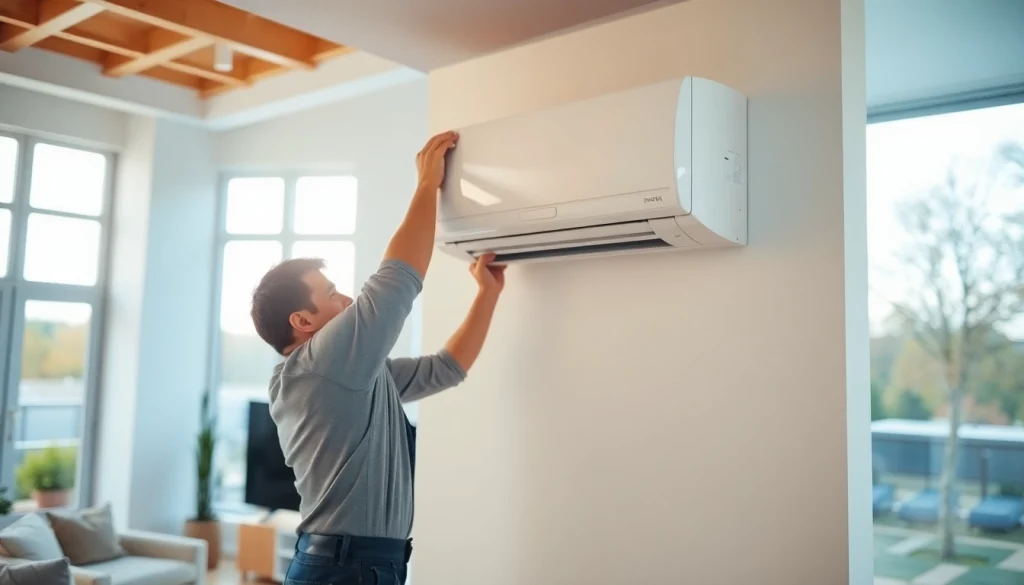
- Install the Indoor Unit: Mount the indoor unit on the wall or ceiling, ensuring it is level and unobstructed.
- Electrical Connections: Connect the necessary electrical wiring, following the manufacturer’s instructions and local codes.
- Test the System: Once installed, conduct tests to ensure the system operates correctly and efficiently.
Common Installation Mistakes to Avoid
Avoiding common pitfalls can save time and enhance system performance. Here are a few mistakes to watch out for:
- Improper Sizing: Installing a unit that is too small or too large can lead to inefficiency and discomfort.
- Poor Location: Not considering airflow and accessibility can lead to operational issues.
- Neglecting Insulation: Failing to insulate the refrigerant lines can reduce efficiency and increase wear on the system.
Testing Your Installation for Efficiency
After installation, it’s crucial to test the system to ensure optimal performance. Verify temperature settings, check for leaks in refrigerant lines, and regularly monitor the system’s operational sounds. Ensuring the system is running efficiently from the start can prevent future issues and enhance energy savings.
Maintenance Tips for Longevity
Regular Maintenance Checklist
To prolong the lifespan of your ductless mini-split system and maintain efficient operation, it’s essential to adhere to a maintenance schedule. Here’s a quick checklist:
- Clean or replace the air filters every 1-3 months.
- Inspect and clean the outdoor unit to prevent debris accumulation.
- Check the refrigerant levels annually.
- Clear any obstructions around the outdoor unit.
- Schedule an annual professional inspection.
Signs Your System Needs Repairs
Monitoring your ductless mini-split system can help identify potential issues early on. Look for these warning signs:
- Unusual Noises: Hissing, buzzing, or grinding noises can indicate mechanical problems.
- Inconsistent Temperature: If certain rooms are warmer or cooler than others, your system may require servicing.
- Increased Energy Bills: Unexpected spikes in your energy costs could indicate inefficiencies in the system.
DIY vs. Professional Maintenance Services
While some maintenance tasks can be handled by homeowners, others are best left to the professionals. Basic tasks such as cleaning filters can be done easily at home, whereas complex issues like refrigerant recharging or compressor repairs require professional expertise. Assess your comfort level and knowledge before attempting any intricate repairs or maintenance.
Frequently Asked Questions About Ductless Mini-Split Installation
How long does ductless mini-split installation take?
Typically, installation can be completed in 1 to 2 days depending on the complexity of the setup and the number of units being installed.
Can I install a ductless mini-split myself?
While some homeowners may attempt DIY installation, professional installation is recommended to ensure safety, efficiency, and compliance with local regulations.
What is the average cost of ductless mini-split installation?
The cost varies based on factors like the number of units, the complexity of installation, and local labor rates, averaging between $3,000 and $5,000.
Do ductless mini-splits work in cold weather?
Yes, many modern ductless mini-split systems are designed to operate efficiently in cold weather, though their heating capacity may decrease as temperatures drop.
How often should I schedule maintenance for my system?
It’s recommended to schedule professional maintenance at least once a year to keep the system running efficiently and to catch any potential issues early.